AI Video for Beginners: Text-to-Video, Images & References
Learn how text-to-video, image-to-video, first and last frames, and references work—and how to choose settings for your first AI video.
6 min read
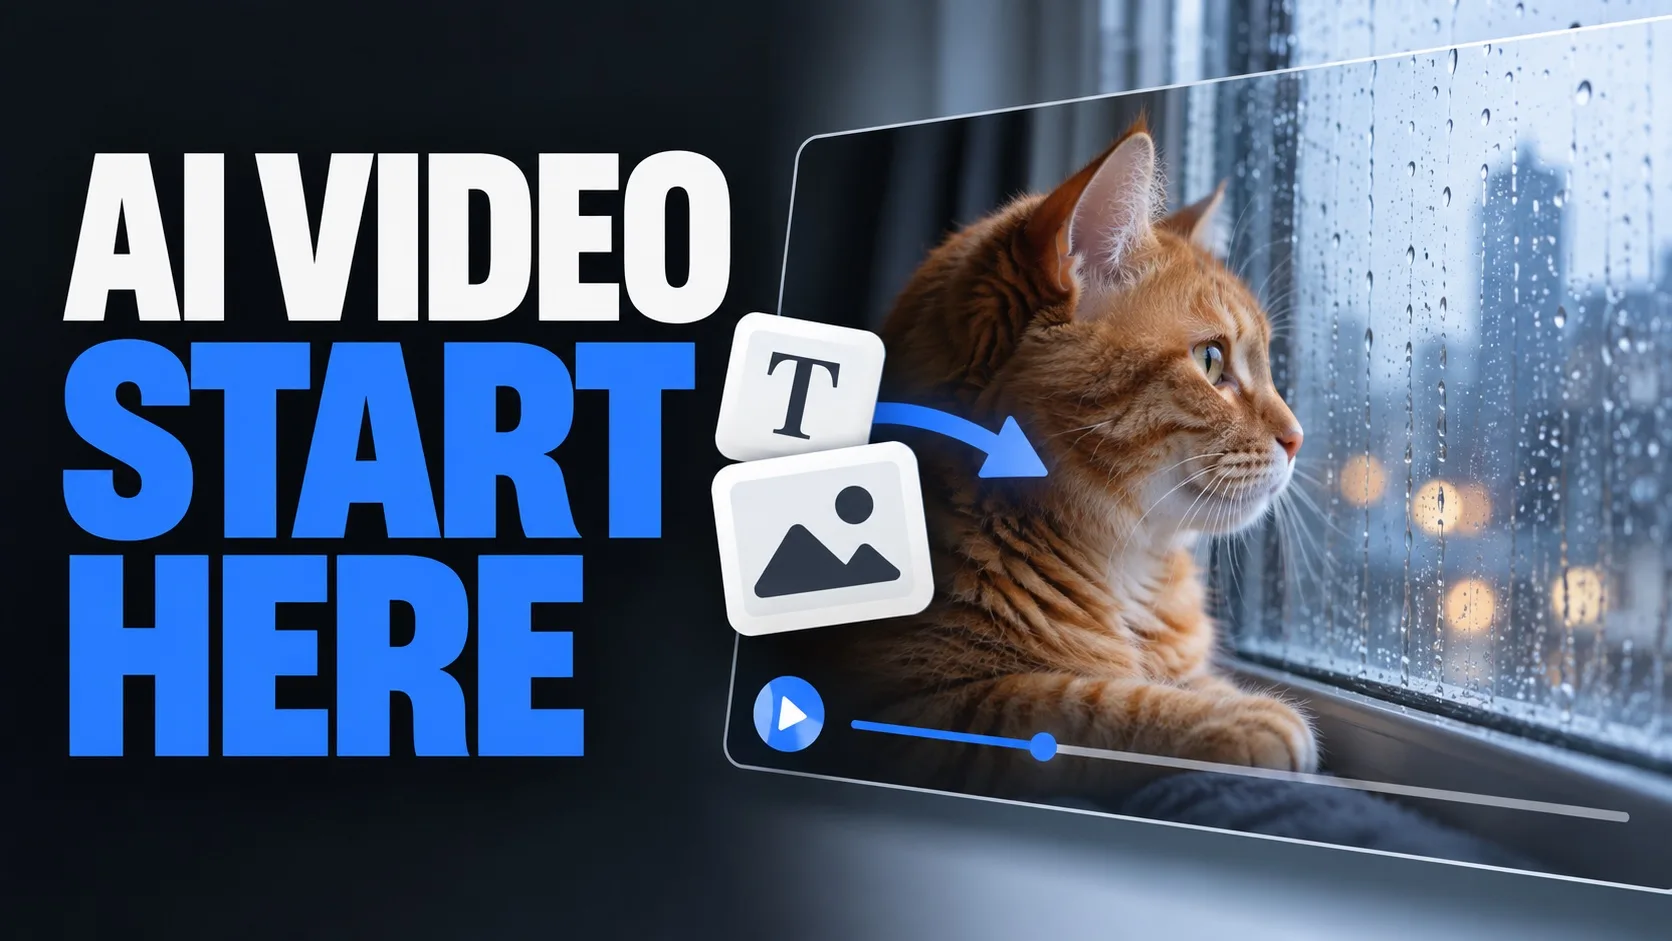
AI video generators can turn a written description or visual input into a moving scene. The best starting point depends on what you already know: the idea, the exact opening image, or the appearance of a person or place.
Text-to-video describes a scene from scratch. Image-to-video starts with a picture. Reference images guide selected visual details. These options solve different problems, and their availability depends on the model and generation mode.
This guide explains the common inputs, shows simple examples, and gives you a practical way to plan your first clip.
Step 1: Text-to-video: describe the scene you want
With text-to-video, you write a description—called a prompt—and the model generates a clip based on it. This is useful when you want to explore an idea and can be flexible about details you have not specified.
Consider this prompt:
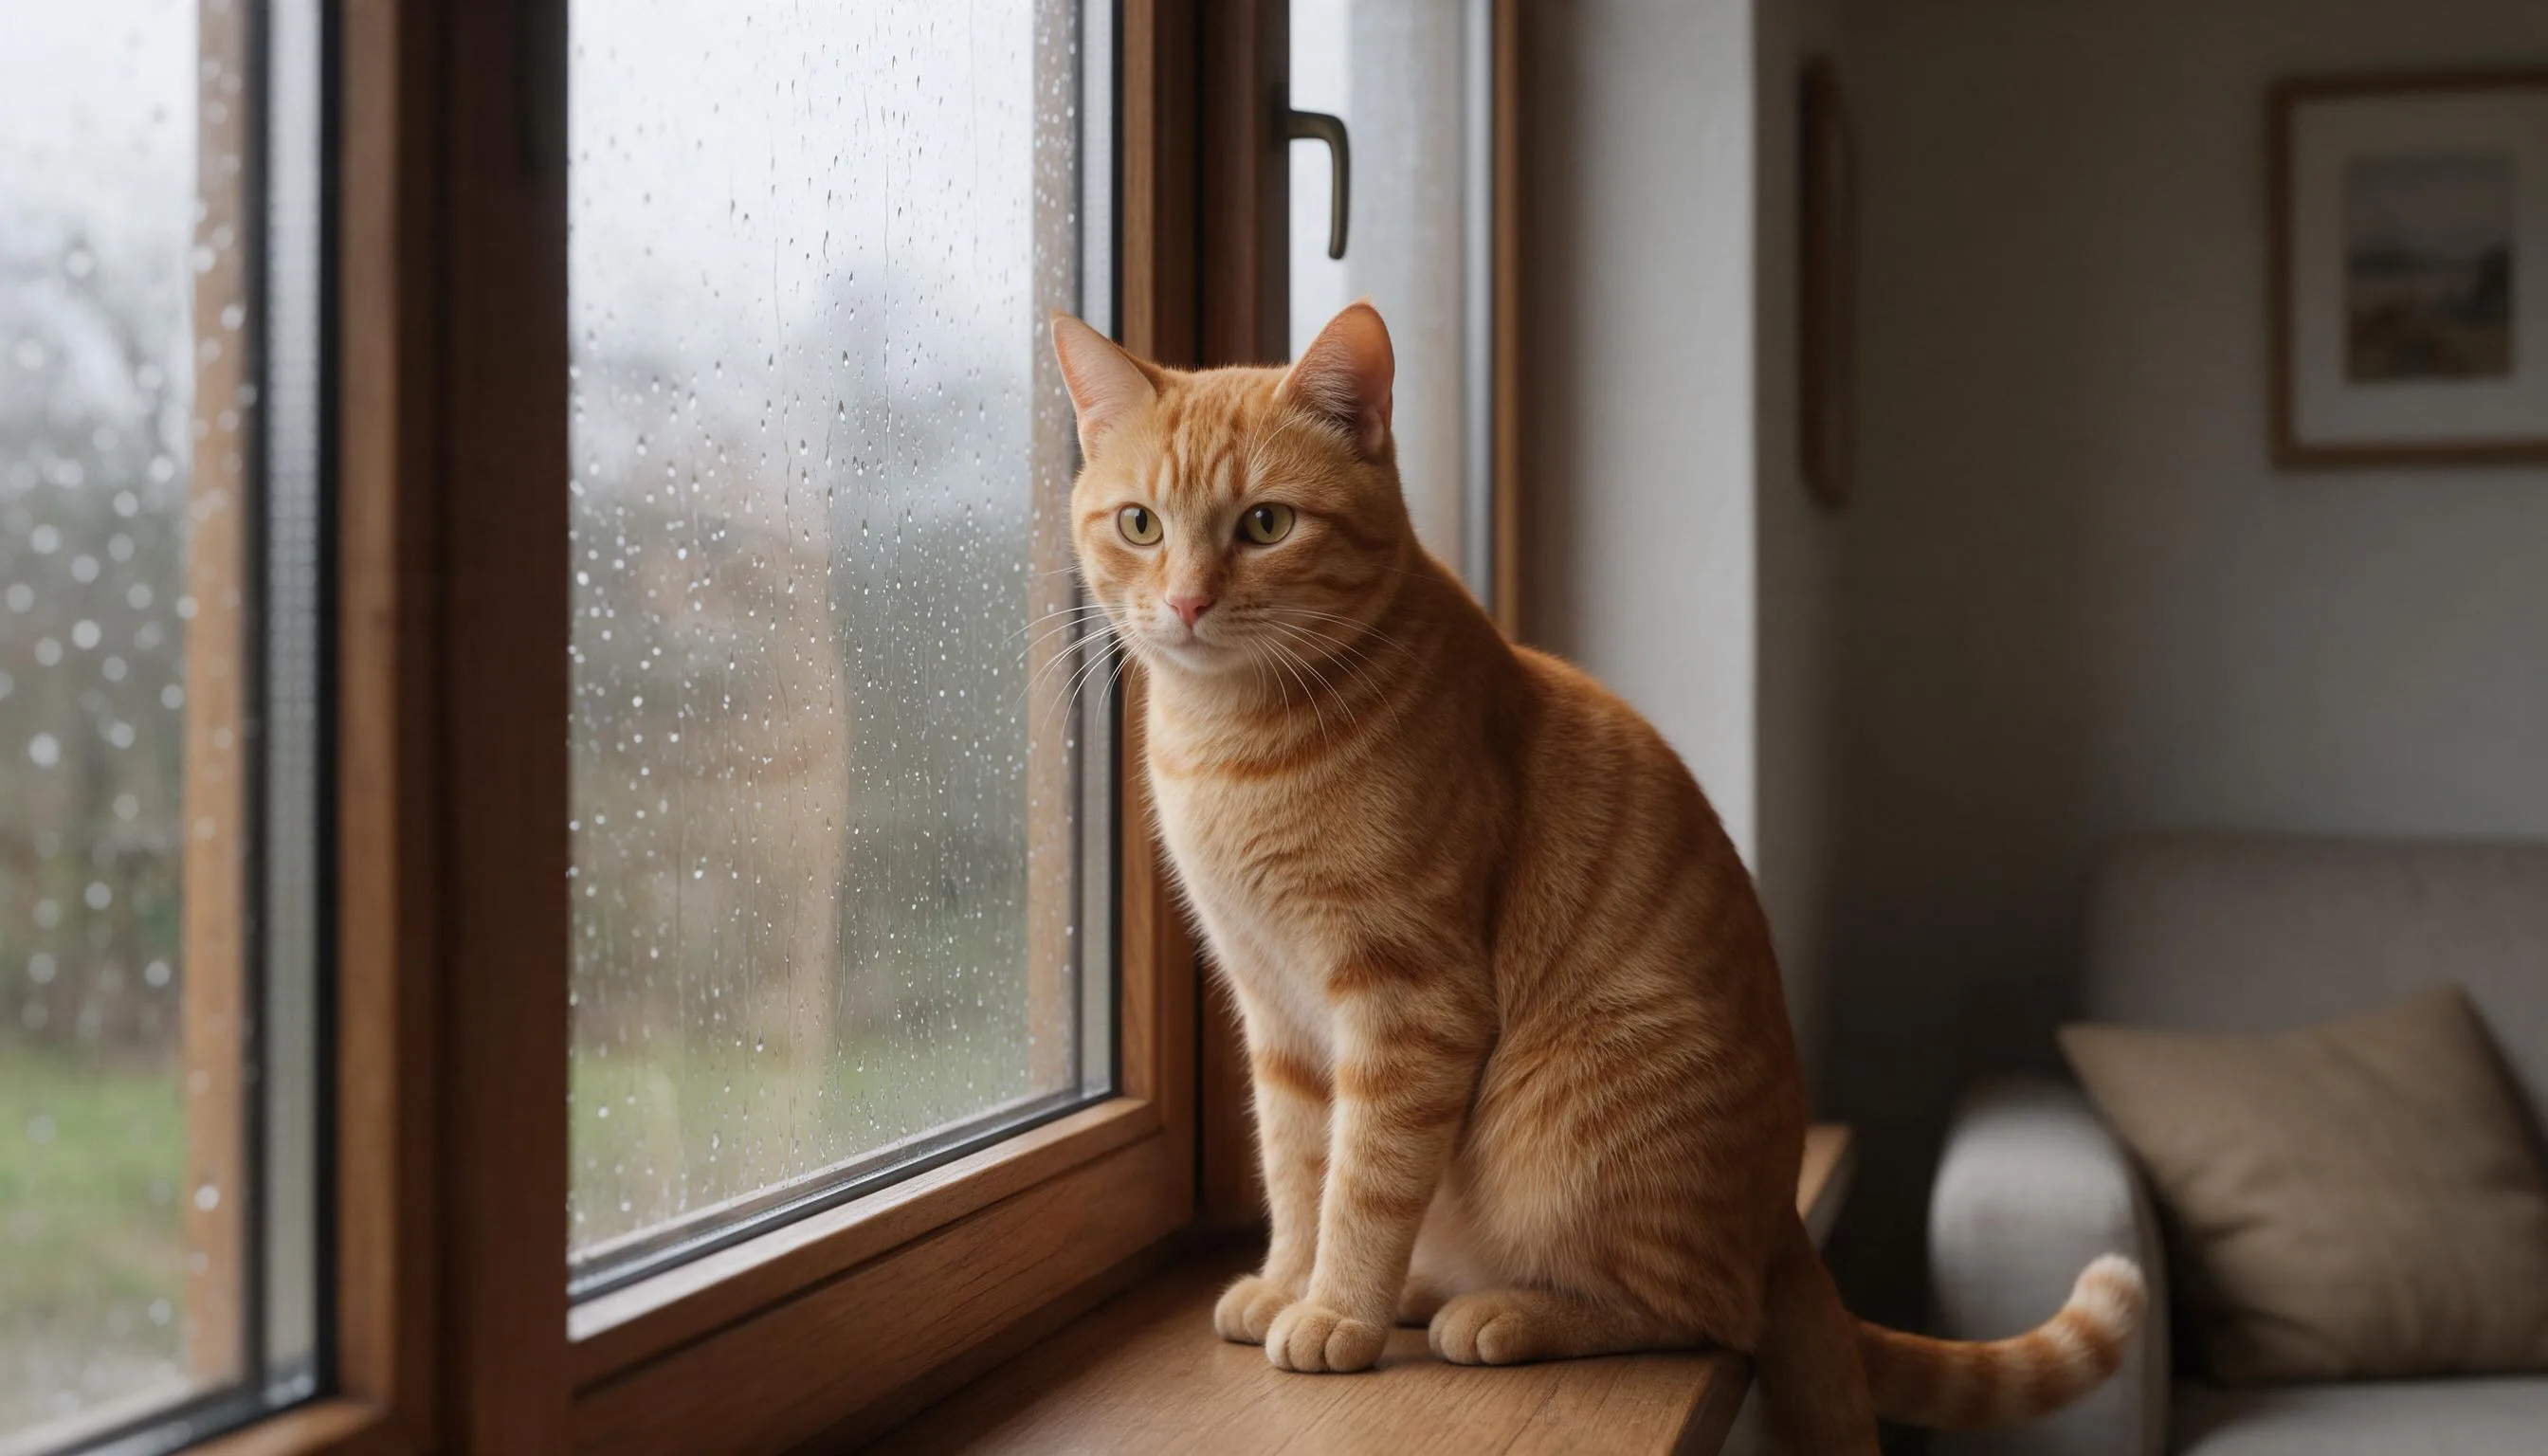
An orange cat sits by a window, watching the rain. The camera slowly moves closer.
It supplies four pieces of direction:
- Subject: an orange cat.
- Action: watching the rain.
- Setting: beside a window.
- Camera movement: a slow move closer.
You can add lighting or visual style when it matters. Start with one understandable scene before adding several actions or camera changes.
The model still chooses details such as the cat’s markings, the window frame, and the arrangement of the room. A second generation may interpret those details differently. Text-to-video is a way to explore a scene, not a promise that every attempt will look identical.
Step 2: Image-to-video: give the model a starting picture
If you already know what the opening should look like, image-to-video can give the model a more specific starting point. A common workflow uses an image as the first frame and a prompt to describe what happens next.
The picture already communicates the subject, composition, lighting, and colors. Your text can concentrate on motion:
The cat turns toward the window. Rain runs down the glass. The camera slowly moves closer.
Think about three kinds of movement: what the subject does, what changes in the environment, and how the camera moves. You do not need all three in every shot.
An input image guides the result, but details can still change as the scene develops. Review the generated clip for appearance changes, unexpected motion, and whether the action matches your intent.
The video’s cat motion plan is a diagram showing what to request, rather than an image-to-video result.
Step 3: First and last frames: choose how a clip begins and ends
Some modes accept both a first frame and a last frame. These define the desired endpoints; the model generates the transition between them.
For example, your first image might show a closed flower bud and your last image the flower in bloom. The prompt can describe how you want the opening to happen.
The two pictures should form a plausible transition within the selected clip length. Giving the model endpoints does not specify every intermediate movement, and it does not guarantee that all details remain unchanged.
The paired images below illustrate the input frames. They are not a claim that a particular model produced a perfect blooming sequence.
 First frame: closed bud
 Last frame: flower in bloom
Step 4: Reference images: guide appearance, not a shot order
Reference images provide visual information for the model to use. Depending on the supported feature, they may guide the appearance of a character, object, setting, or style.
You might provide one picture of a person and another of a room. Those images do not necessarily become the first and second shots. They can describe ingredients for the same scene.
The distinction is useful:
- Starting frame: begin the clip with this picture.
- Reference image: use this picture as guidance.
Check how the selected mode interprets each reference. More images are not automatically better; unrelated or conflicting references can make the intended scene less clear.
Step 5: Video and audio inputs: check what the feature actually does
An input type tells you what you can supply, but the selected feature determines how it is used.
Video input may support motion guidance, editing an existing clip, or extending a sequence. Uploading a video does not mean every model can replace any character, change any object, or preserve every detail.
Audio input also has different roles. Some features use speech to drive a talking character; others use audio to guide timing or rhythm. A model that generates sound alongside a video does not necessarily accept uploaded audio as a reference.
Some modes combine several input types. Others accept only specific combinations. Check the mode’s supported inputs instead of assuming that first/last frames, reference images, video, and audio can always be mixed.
Step 6: Duration, resolution, and cost: test what matters
Before generating, you will usually choose settings such as clip length and output resolution.
Duration is how long the clip runs. Choose enough time for the requested action to happen. Packing a long sequence of events into a short clip can leave the result rushed or incomplete.
Resolution describes the dimensions of the output image. It is only one part of quality: movement, visual consistency, and how closely the clip follows the prompt also matter.
Price can depend on the model, generation mode, duration, resolution, and audio options. Check the quote shown by your tool. Do not assume every model uses the same pricing formula.
When testing, choose a lower-cost option that still lets you judge the important part of the shot. Review the result before spending more on a higher-resolution or longer generation. A useful budget includes the attempts it takes to get a usable clip, not just the price of one generation.
Step 7: Build a complete video from individual shots
Generating one clip is one part of making a complete video. Longer projects often involve several shots, editing, and sound.
For example, plan a wide shot of a person entering a room, followed by a close-up of a hand picking up a mug. Treat each shot as a clear task. Then check whether the character, clothing, lighting, setting, and visual style match well enough to cut together.
Reusing suitable visual references can help with continuity, but you still need to review the results. In our video, the wide shot and close-up were generated separately and differ in style. That is a practical reminder to inspect continuity before assembling a finished sequence.
For your first project:
- Choose one scene.
- Describe one clear action.
- Add a starting image or reference only when it helps define the result.
- Select a supported mode and sensible test settings.
- Generate, watch, and refine the part that did not work.
You do not have to master every input type before you begin. Start with the information your scene needs, then add control as you learn what the model does.
Questions
What is the difference between text-to-video and image-to-video?
Text-to-video begins with a written description of the scene. A common image-to-video workflow also supplies a starting picture, so the prompt can focus on how that picture should move or change.
Are reference images the same as first and last frames?
No. First and last frames define the desired endpoints of a clip. Reference images guide visual information such as appearance or setting; they do not necessarily specify the opening frame, ending frame, or order of shots.
Can every AI video model accept images, video, and audio together?
No. Supported inputs and combinations vary by model and mode. A feature that generates audio may not accept uploaded audio, and a reference mode may have different controls from a first/last-frame mode.
Does a longer prompt always make a better AI video?
No. A useful prompt communicates the scene and action clearly. Extra detail helps when it resolves ambiguity, but several competing actions or conflicting directions can make the intended result harder to follow.
Should I always generate at the highest resolution?
Not necessarily. For a first test, choose settings that let you judge the action and composition at a reasonable cost. Higher resolution does not by itself fix inconsistent motion or a scene that does not follow the prompt.
Further reading
For model-specific instructions, consult the documentation for the tool you use. Two useful examples are Runway’s image-to-video prompting guide and Google’s guide to first and last frames in Veo. Their supported options apply to their respective models, not to every video generator.